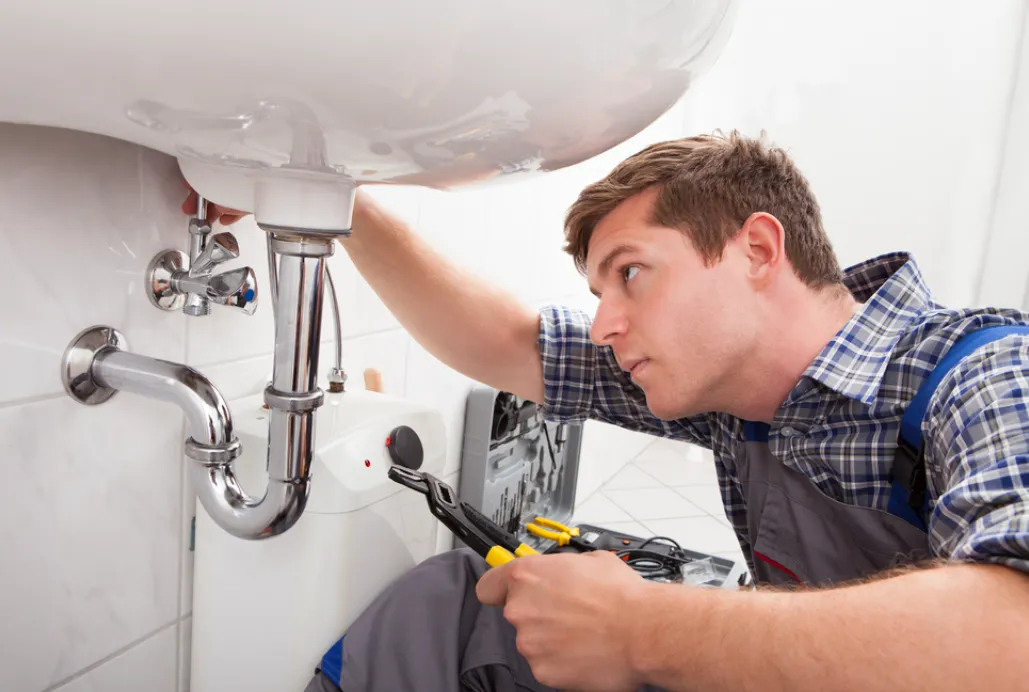
Drip… drip… drip. Aside from being an irritating sound, a leaky faucet is an unwanted drain on your wallet. Did you know that a single leaky faucet dripping every few seconds can waste hundreds of gallons of water per year? That’s like pouring money down the drain. Thankfully, repairing a leaky faucet doesn’t always require a plumber. With a little DIY effort, you can resolve the issue, save on your water bills, and contribute to water conservation efforts.
In this post, we’ll walk you through why leaky faucets occur, how to fix them, and how this simple task can save you money and headaches.
Why Is Your Faucet Leaking?
Before jumping into repairs, it’s crucial to understand what might be causing your faucet to leak. There are several common culprits:
- Worn Out Washer or O-Ring: Over time, the rubber washer or O-ring inside the faucet can deteriorate due to friction or age, leading to a leak.
- Corroded Valve Seat: Corrosion around the valve seat can cause leaks near the spout, especially in older faucets.
- High Water Pressure: Excessively high water pressure can cause dripping from your faucet even when it’s turned off.
- Loose or Damaged Parts: Faucets have multiple components. If any part becomes loose or damaged, it may result in constant dripping.
By correctly identifying the problem, you can efficiently tackle the repair with the right tools and methods.
Step-by-Step Guide to Fixing a Leaky Faucet
Fixing a leaky faucet might sound intimidating, but with the right tools and patience, it’s a straightforward task. Here’s how you can repair it:
Step 1: Gather Your Tools and Materials
Before starting, ensure you have all necessary tools:
- Adjustable wrench
- Screwdrivers (flathead and Phillips)
- Replacement parts (O-ring, washer, or cartridge)
- Plumber’s tape
- A small bowl to hold screws and parts
Step 2: Turn Off the Water Supply
Locate the water shut-off valves under your sink. Turn them clockwise to stop the water flow. Open the faucet to release any remaining water in the pipes.
Step 3: Disassemble the Faucet
With the water supply off, use your screwdriver to remove the faucet handle. Be careful to keep all screws and parts organized to make reassembly easier later.
Step 4: Inspect and Replace Worn Parts
Examine the components for wear and tear. Look specifically at the rubber washer, O-ring, or valve cartridge, depending on your faucet type. Replace any damaged parts with new ones that match the faucet model. Most replacement parts are available at local hardware stores.
Step 5: Clean the Valve Seat
If your faucet has a corroded valve seat, clean it using a soft brush or vinegar solution to remove debris and buildup.
Step 6: Reassemble the Faucet
Put the faucet back together in the reverse order of how you disassembled it. Use plumber’s tape when reattaching parts to ensure a watertight seal.
Step 7: Test the Faucet
Turn the water supply back on and check your work. Slowly open the faucet and inspect for any drips. If the leak persists, double-check your assembly to ensure all parts are securely in place.
How Fixing a Faucet Saves Money and Water
Repairing a leaky faucet might seem like a small action, but the impact can be significant for your finances and the environment. A single dripping faucet can waste up to 3,000 gallons of water per year, according to the EPA. By stopping that leak, you’ll see a noticeable reduction in your water bill.
Additionally, investing in efficient fixtures like low-flow faucets can further reduce your water usage and save money. Think of fixing your faucet as an investment—not only in your household budget but also in conserving one of our most precious resources.
When to Call a Professional
While most leaky faucets can be tackled with DIY repairs, some issues might require expert assistance. If you notice persistent leaks despite replacing parts or need to address complex plumbing systems, it’s best to contact professionals. Experienced plumbers can quickly assess and resolve issues, ensuring your faucet remains drip-free.
For those in Utah, consider reputable plumbing services in Murray, Utah for expert help.
Leak-Free Living
A leaky faucet might start as a minor inconvenience, but leaving it unattended can lead to wasted water, unnecessary costs, and potential property damage. By identifying the cause and taking the proper steps to repair it, you’ll turn that annoying drip into an opportunity for savings. And if DIY doesn’t work out, you’ll always have expert plumbers at your side to lend a hand. A little effort goes a long way in keeping your home efficient and environmentally friendly.


