
Hanging lights are a stunning addition to any space, providing both function and flair. However, installing contemporary pendant lighting can seem intimidating. But with the right guidance, it can be done safely and easily. This article explores four essential steps to installing hanging lights, ensuring a smooth and efficient process.
Choosing the Right Lighting
The first step in any lighting installation is selecting the right fixture. Modern pendant lighting offers various styles, shapes, and sizes to complement your home’s décor. Consider the room’s size and function when making your choice. A large pendant may overpower a small space, while a cluster of smaller lights could add an elegant touch.
Make sure to pick a pendant light that fits your ceiling height. A fixture that’s too low could be a hazard, while one that’s too high may not provide enough illumination. So, take time to measure the space and visualize how different styles will look in your room before making a final decision.
Preparing the Installation Area
Once you’ve chosen your contemporary pendant lighting, it’s time to prepare the installation area. Safety should always be a top priority, so make sure to turn off the room’s power before you begin. Use a ladder or step stool to reach the ceiling safely, and ensure you have all the necessary tools within arm’s reach, including a drill, screwdriver, wire cutters, and electrical tape.
Check the ceiling structure to determine the best spot for mounting the pendant light. If the ceiling has a junction box, ensure it is securely installed to hold the fixture’s weight. If not, you may need to install one before proceeding with the installation. Properly preparing the area helps avoid complications later.
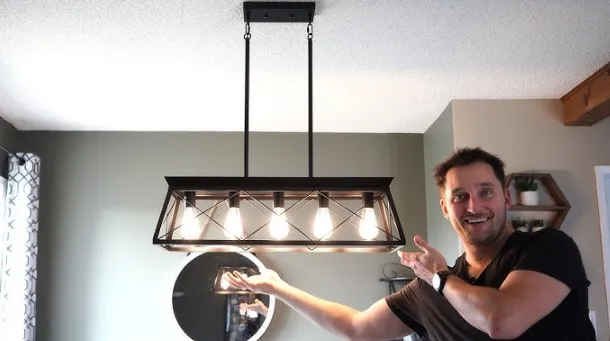
Mounting the Pendant Light
The next step is to mount the pendant light to the ceiling. If you’re installing a single pendant, it typically attaches to a ceiling junction box with screws. Use a mounting bracket for multiple lights to ensure each light is securely attached. Make sure to follow the manufacturer’s instructions to the letter to prevent any installation mishaps.
After securing the mounting hardware, it’s time to attach the pendant’s wiring. Carefully strip the ends of the wires and connect them to the corresponding wires in the junction box. Use wire nuts to secure the connections, ensuring a tight and safe fit.
Testing and Adjusting the Light
Once the pendant light is mounted, it’s essential to test it before finishing the installation. Turn the power back on and switch on the light to see if everything works correctly. If the light doesn’t turn on, double-check the connections and ensure the bulbs are properly installed.
After ensuring everything is functioning as it should, adjust the pendant light to your desired height. Many contemporary pendant lights have chains or cables that may be adjusted in length to suit your preferences. Make sure the light is positioned at an optimal height for both style and functionality.
Should Professional Help Be Considered?
Although installing modern hanging lights can be a straightforward DIY task, some may prefer seeking professional help. This is especially true when dealing with complex electrical systems or unfamiliar ceiling structures. In these cases, a professional can ensure the job is done correctly and safely.
Before calling in an expert, evaluate the complexity of the installation. If the installation requires additional wiring or modifications to the ceiling structure, a specialist can offer invaluable support. Sometimes, it’s better to leave certain tasks to someone with experience to ensure peace of mind and a flawless result.
Installing modern pendant lighting doesn’t have to be a daunting task. With careful planning and the right tools, anyone can enhance their home with stylish, functional lighting. Whether you decide to tackle the installation yourself or enlist the help of a professional, the process can be simple, safe, and rewarding. The glow of modern lighting will brighten up any space, making it feel both inviting and luxurious.

